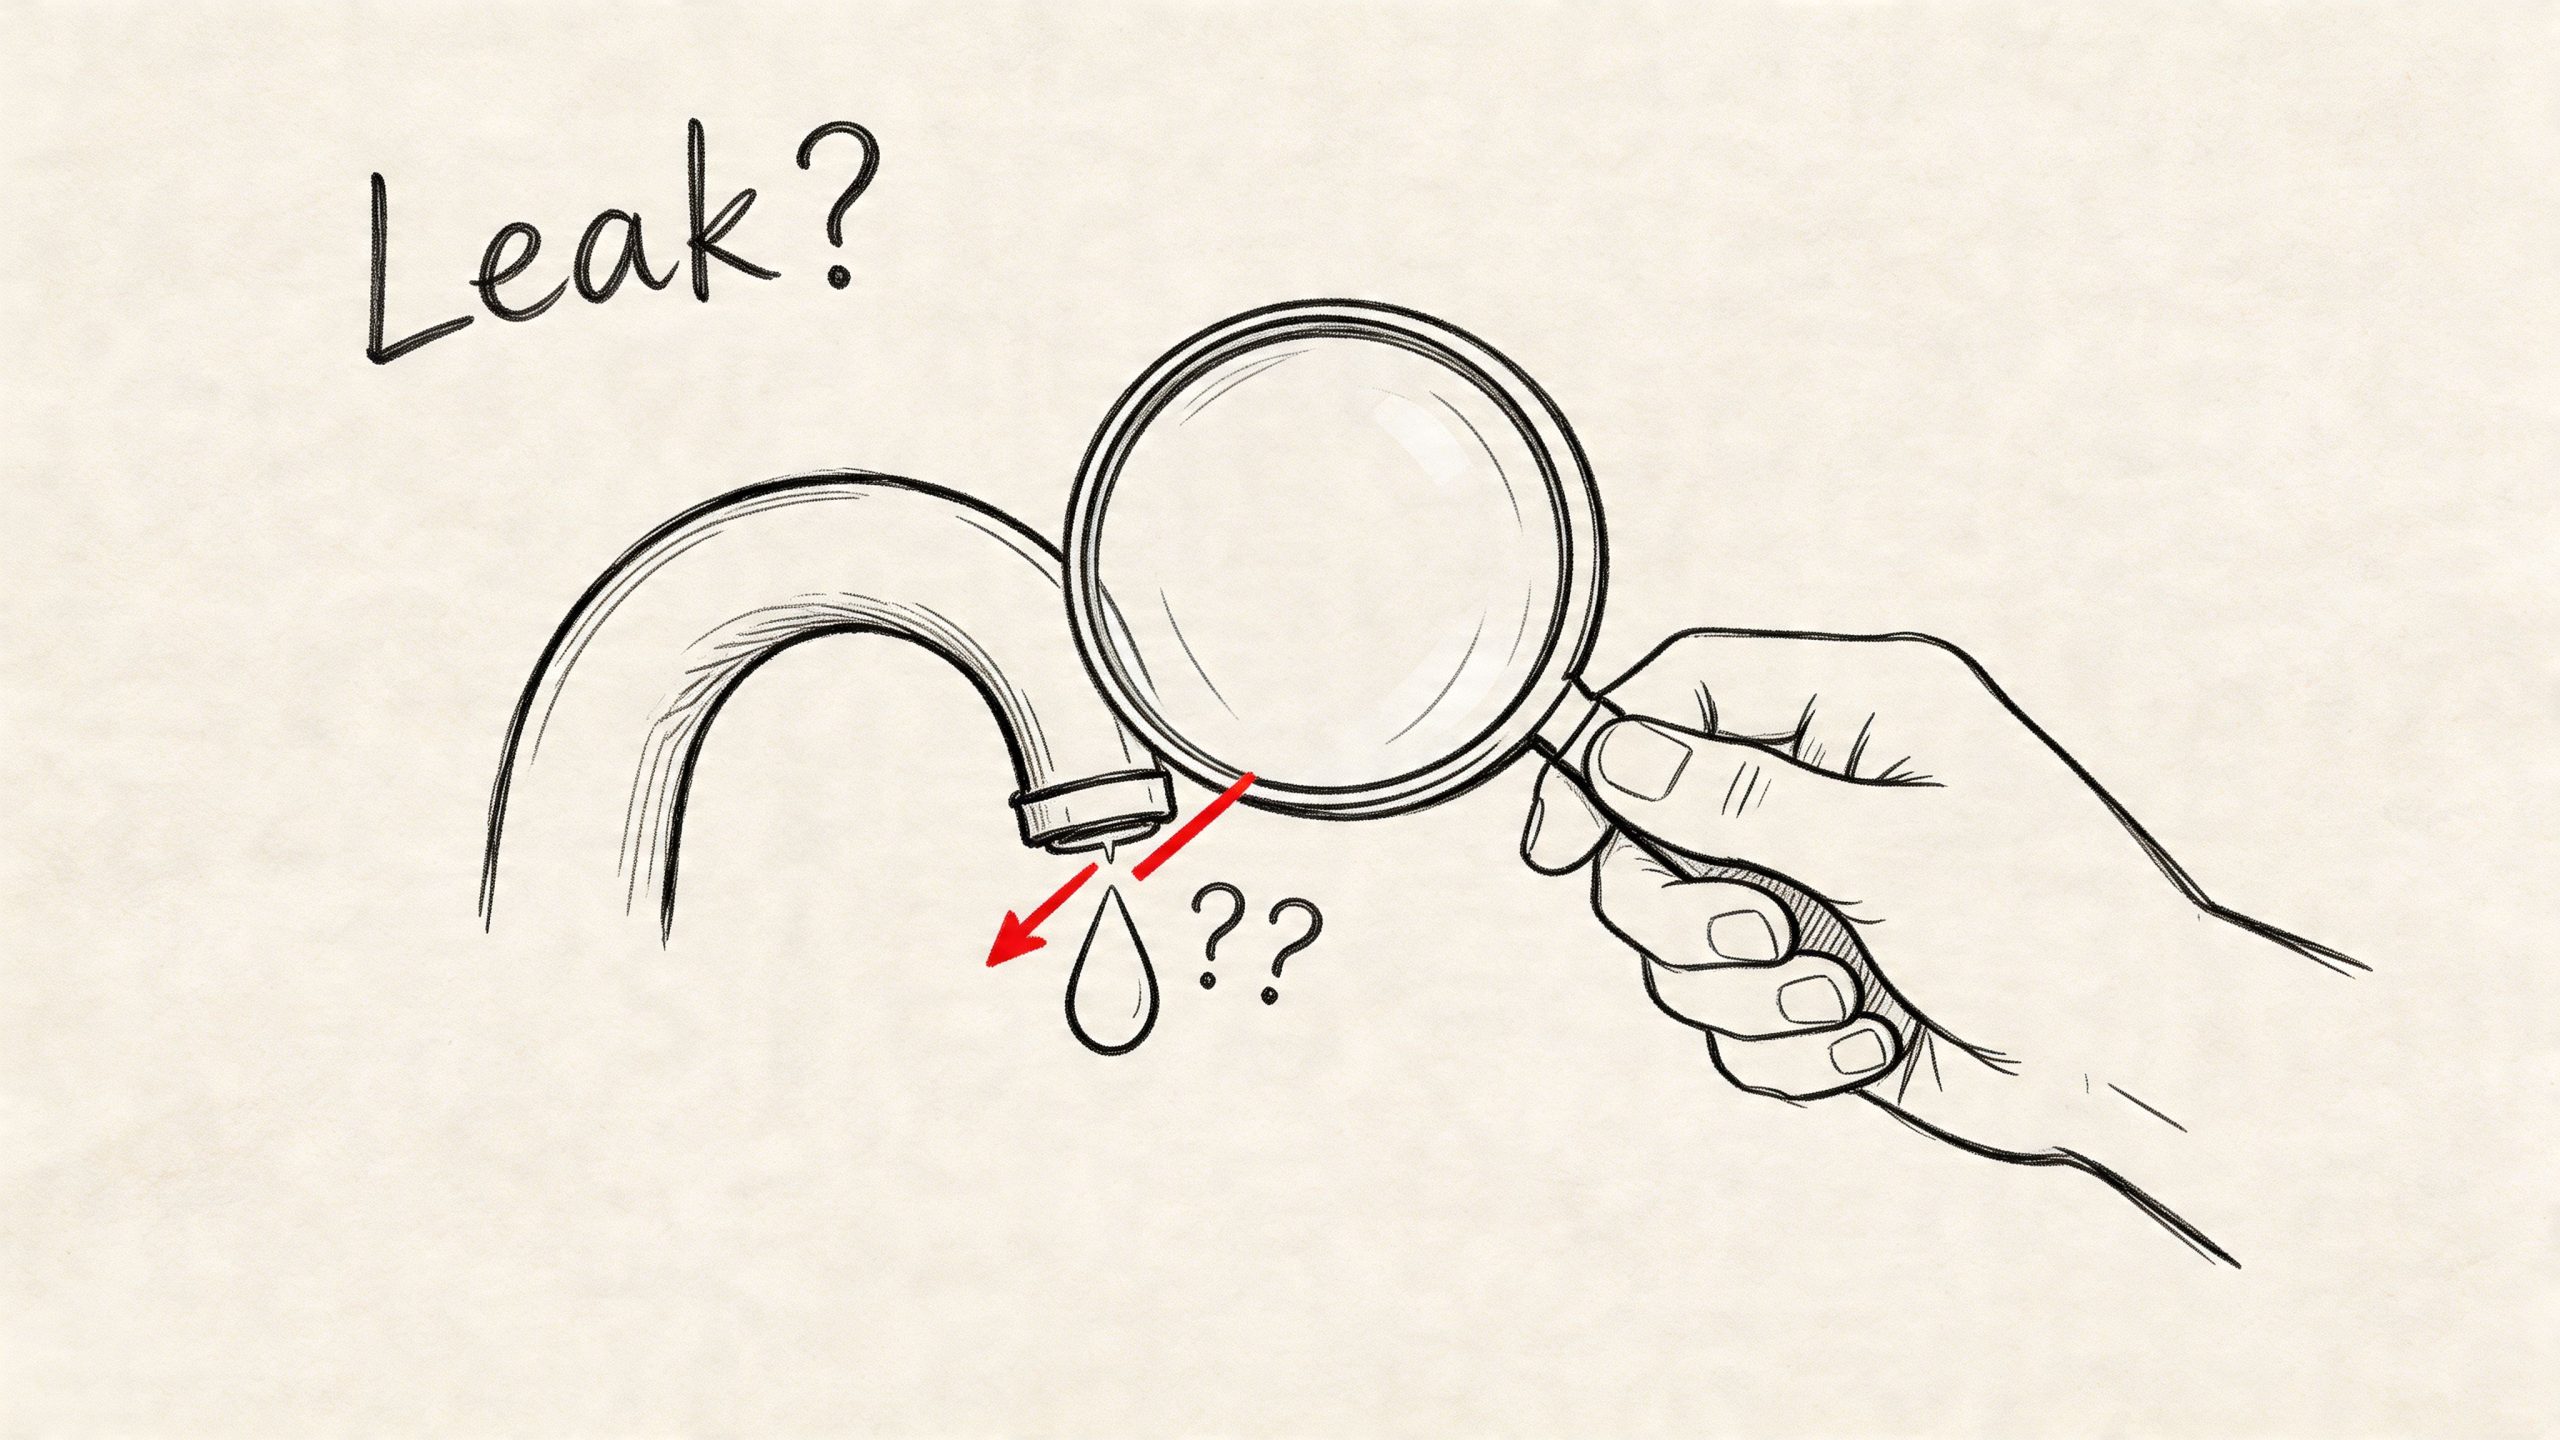
Fix Your Faucet Leaking At Spout Now

That drip gets under your skin fast. It’s worse at night, worse when the house is quiet, and worse when you know it probably won’t fix itself.
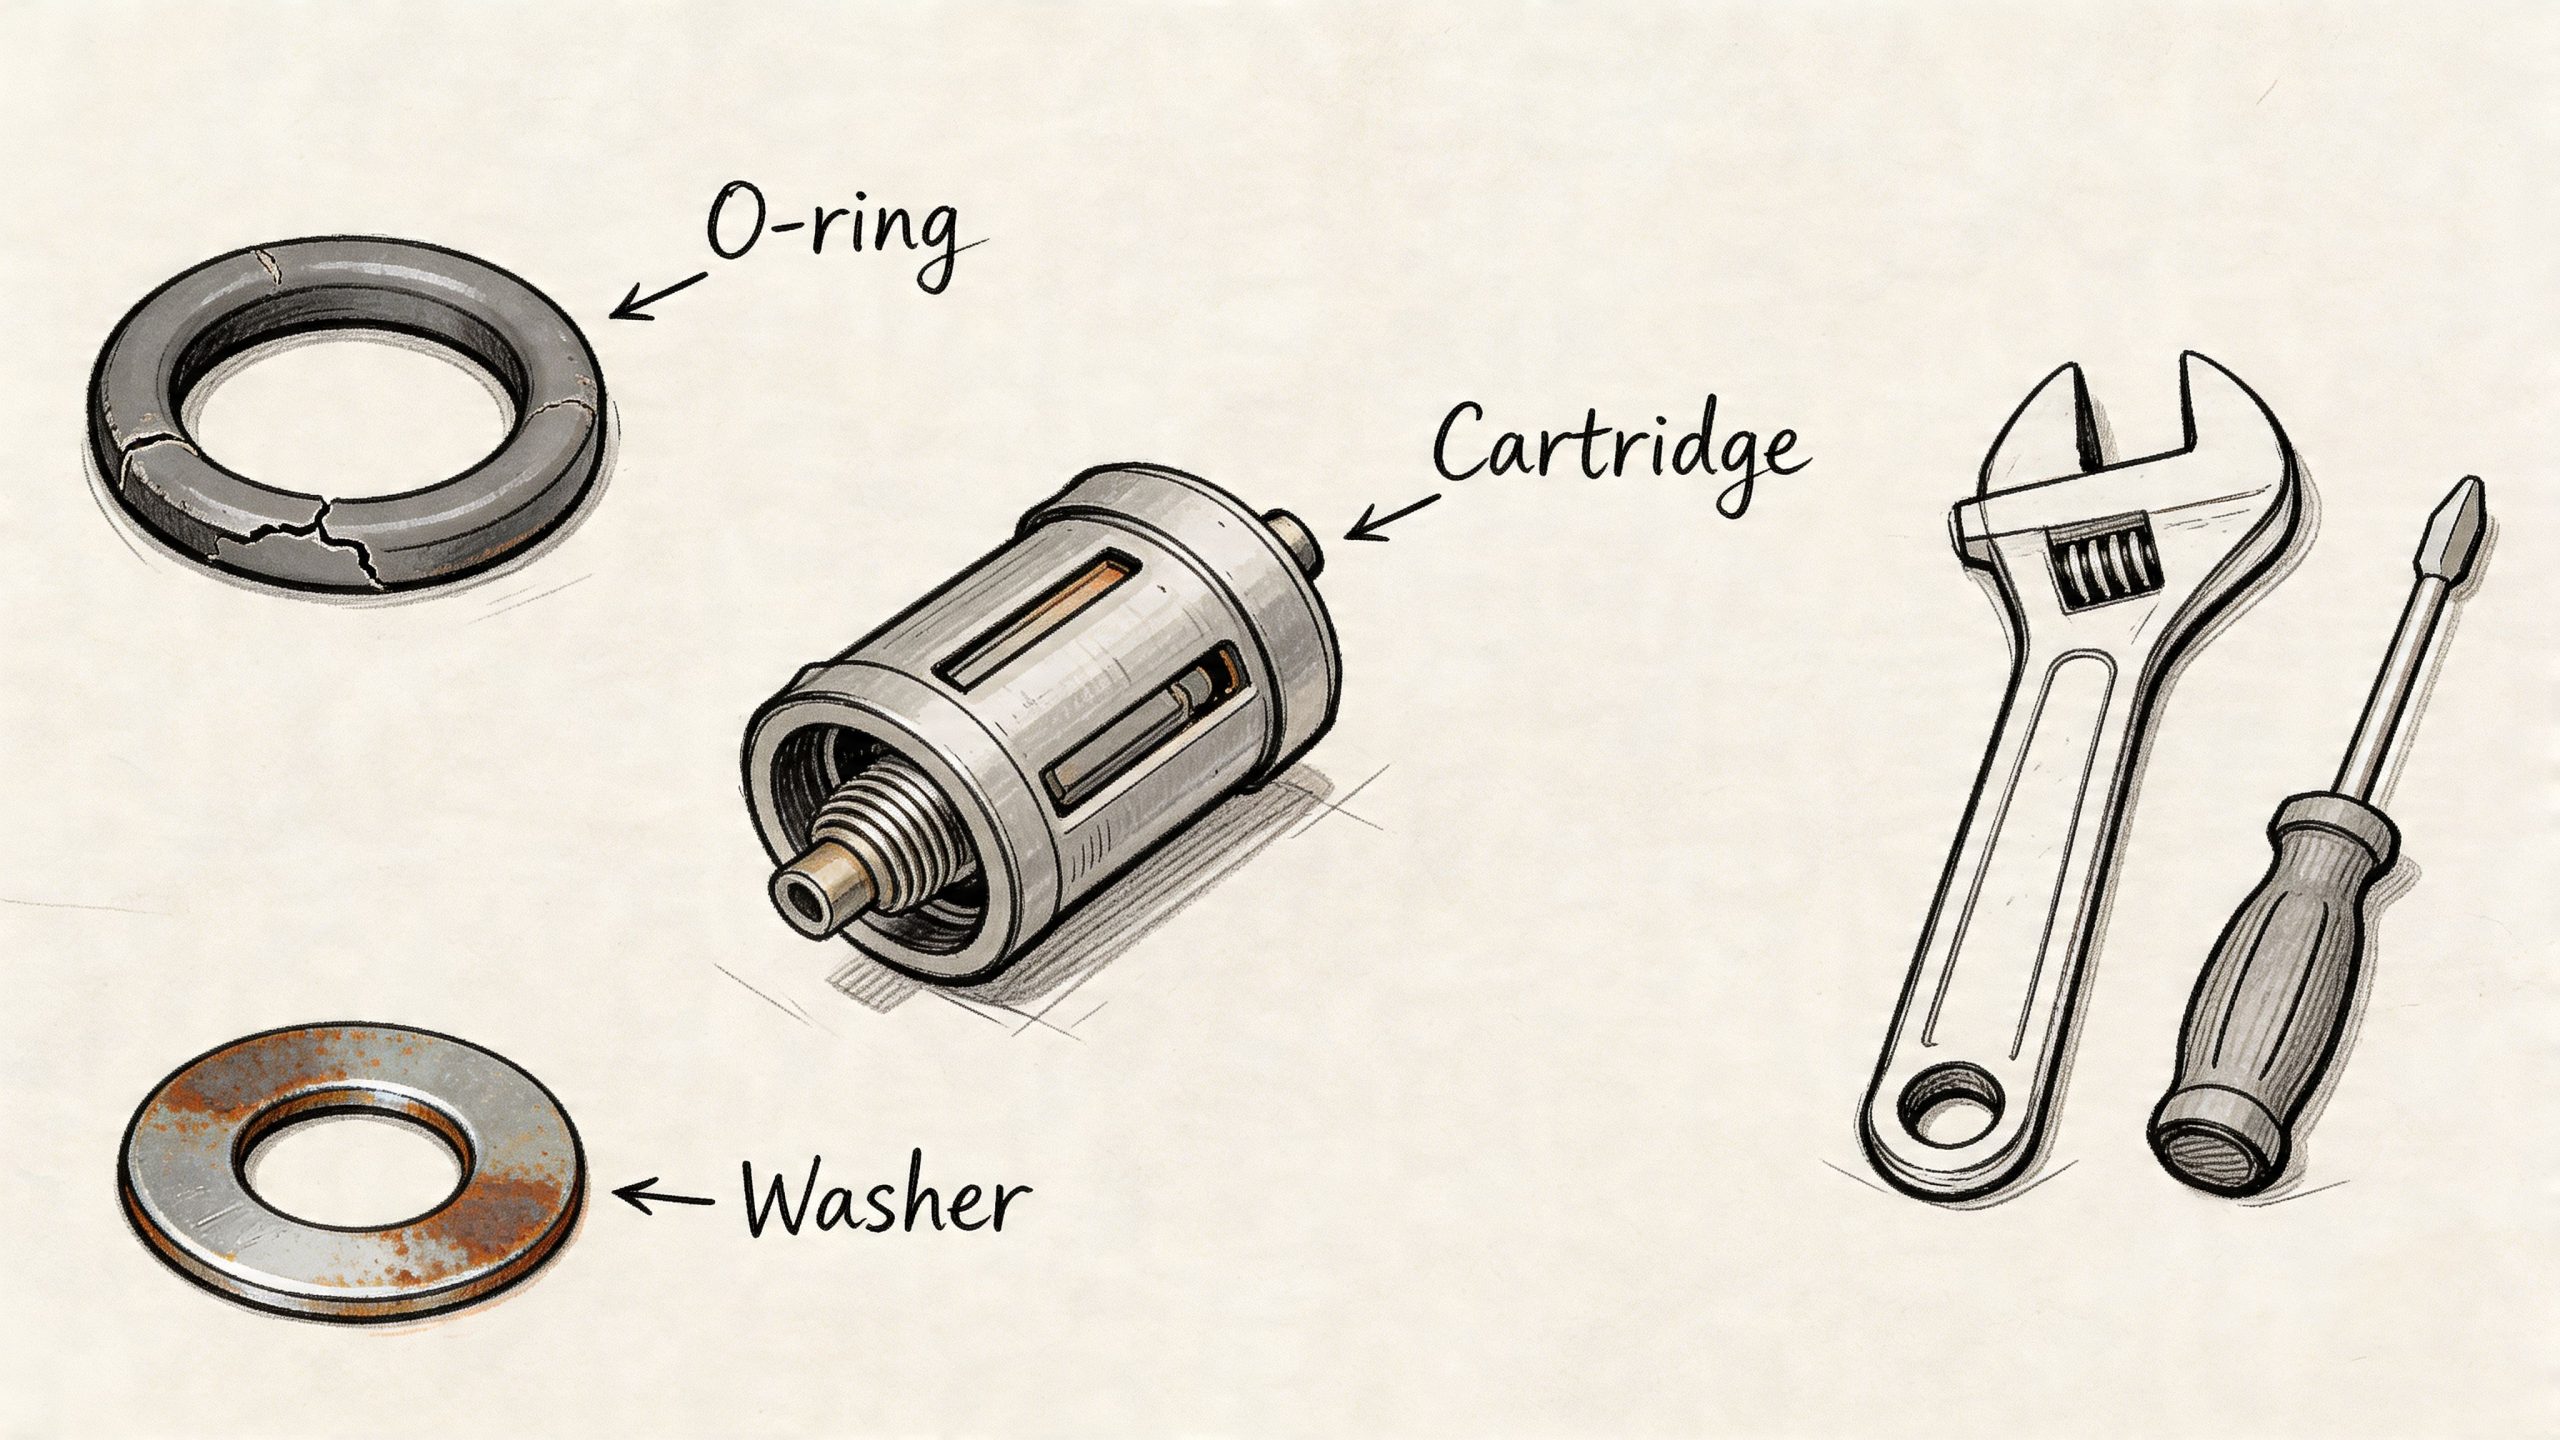
A faucet leaking at spout usually comes down to a few familiar problems. A worn cartridge. A tired washer. A flattened O-ring. In North Metro Atlanta, hard water buildup is often part of the story too. The good news is that many faucet leaks are manageable for a homeowner with a little patience and the right parts. The bad news is that some “simple” drips aren’t coming from the spout at all.
That Annoying Drip Stops Here
A lot of homeowners in Woodstock, Acworth, and Marietta put up with a drip longer than they should. It seems minor. You jiggle the handle, tighten it a little harder, and hope it stops. Then the next morning, there it is again.
That small leak adds up surprisingly quickly. A faucet leaking at the spout at one drip per second wastes over 3,000 gallons of water annually, equal to more than 180 showers, according to leak facts from Cobb County-Marietta Water Authority. That’s why a leak that looks harmless on Friday can become a bill problem over time.
What usually causes the drip
Most spout leaks come from wear inside the faucet body. Common causes include:
- Worn cartridge parts: Very common on newer single-handle kitchen and bathroom faucets.
- Flattened washers or seals: More common on older faucet designs.
- Damaged O-rings: Especially likely if water shows up around the base of the spout or swivel area.
- Mineral buildup: Hard water can rough up sealing surfaces and keep parts from seating cleanly.
Practical rule: If the water comes out of the spout when the faucet is fully off, start by suspecting the internal shutoff parts, not the outside finish.
Some repairs are straightforward. Shut off the water, remove the handle, match the old part exactly, and reassemble carefully. Others turn sideways fast. A corroded retaining nut, a stuck cartridge, or a leaking stop valve under the sink can turn a simple Saturday repair into a reason to call an emergency plumber.
What works and what doesn’t
What works is a calm diagnosis and an exact-match repair.
What doesn’t work is cranking the handle tighter, grabbing the cheapest replacement kit on the shelf, or taking the faucet apart before you know where the leak starts. If you’re in Alpharetta, Roswell, or Canton and dealing with older fixtures, you’re often better off slowing down and checking the basics before you remove a single screw.
Diagnosing the True Source of Your Faucet Leak
Before you touch a wrench, watch the leak. A true diagnosis saves time, saves parts, and prevents the classic mistake of fixing the wrong problem.
First identify the faucet style
You don’t need to know everything about faucet design, but you do need to know what you’re opening up.
- Single-handle cartridge faucet: Common in many newer kitchens and baths. One handle controls both temperature and flow.
- Two-handle faucet: Usually one hot and one cold handle. Older versions often use washers and seats.
- Pull-down or pull-out kitchen faucet: The head pulls away on a hose. These create a lot of confusion because hose leaks can mimic a spout leak.
- Swivel spout faucet: Often leaks at the base when O-rings wear out.
If you still have paperwork from the original install or can spot the brand on the trim cap, keep that handy. It’ll help when you shop for parts.
Look at where the water actually appears
A few minutes of close observation can tell you a lot.
If the drip forms at the tip of the spout after the faucet is off, the problem is usually inside the valve or cartridge area. If water shows up around the base of the spout, especially when you move it side to side, worn O-rings are a better suspect. If the faucet is a pull-down model and you see water under the sink or around the hose path, don’t assume the neck is bad. The hose or quick-connect fitting may be the actual issue.
A leak that “looks like” a spout drip can start somewhere else and travel along the faucet body before it falls.
That matters in older homes around Marietta and Roswell. In those houses, what looks like a faucet leak sometimes traces back to corroded angle stops or supply connections under the sink.
A quick isolation test under the sink
In older homes, up to 40% of service calls for a “spout drip” can reveal underlying supply line leaks at the angle stops, and turning off one supply valve at a time can help isolate the issue, as noted in Kohler’s guidance on diagnosing faucet leaks.
Try this carefully:
- Dry everything first: Wipe the faucet body, supply lines, and cabinet floor.
- Turn off one stop valve: Start with either hot or cold.
- Watch the spout: If the leak changes or stops, you’ve learned which side is involved.
- Repeat on the other side: This helps narrow the problem before disassembly.
This same mindset shows up in property maintenance generally. A good rental property inspection checklist is useful because it trains you to look for the source of a problem instead of only the visible symptom.
Atlanta-area issues that change the diagnosis
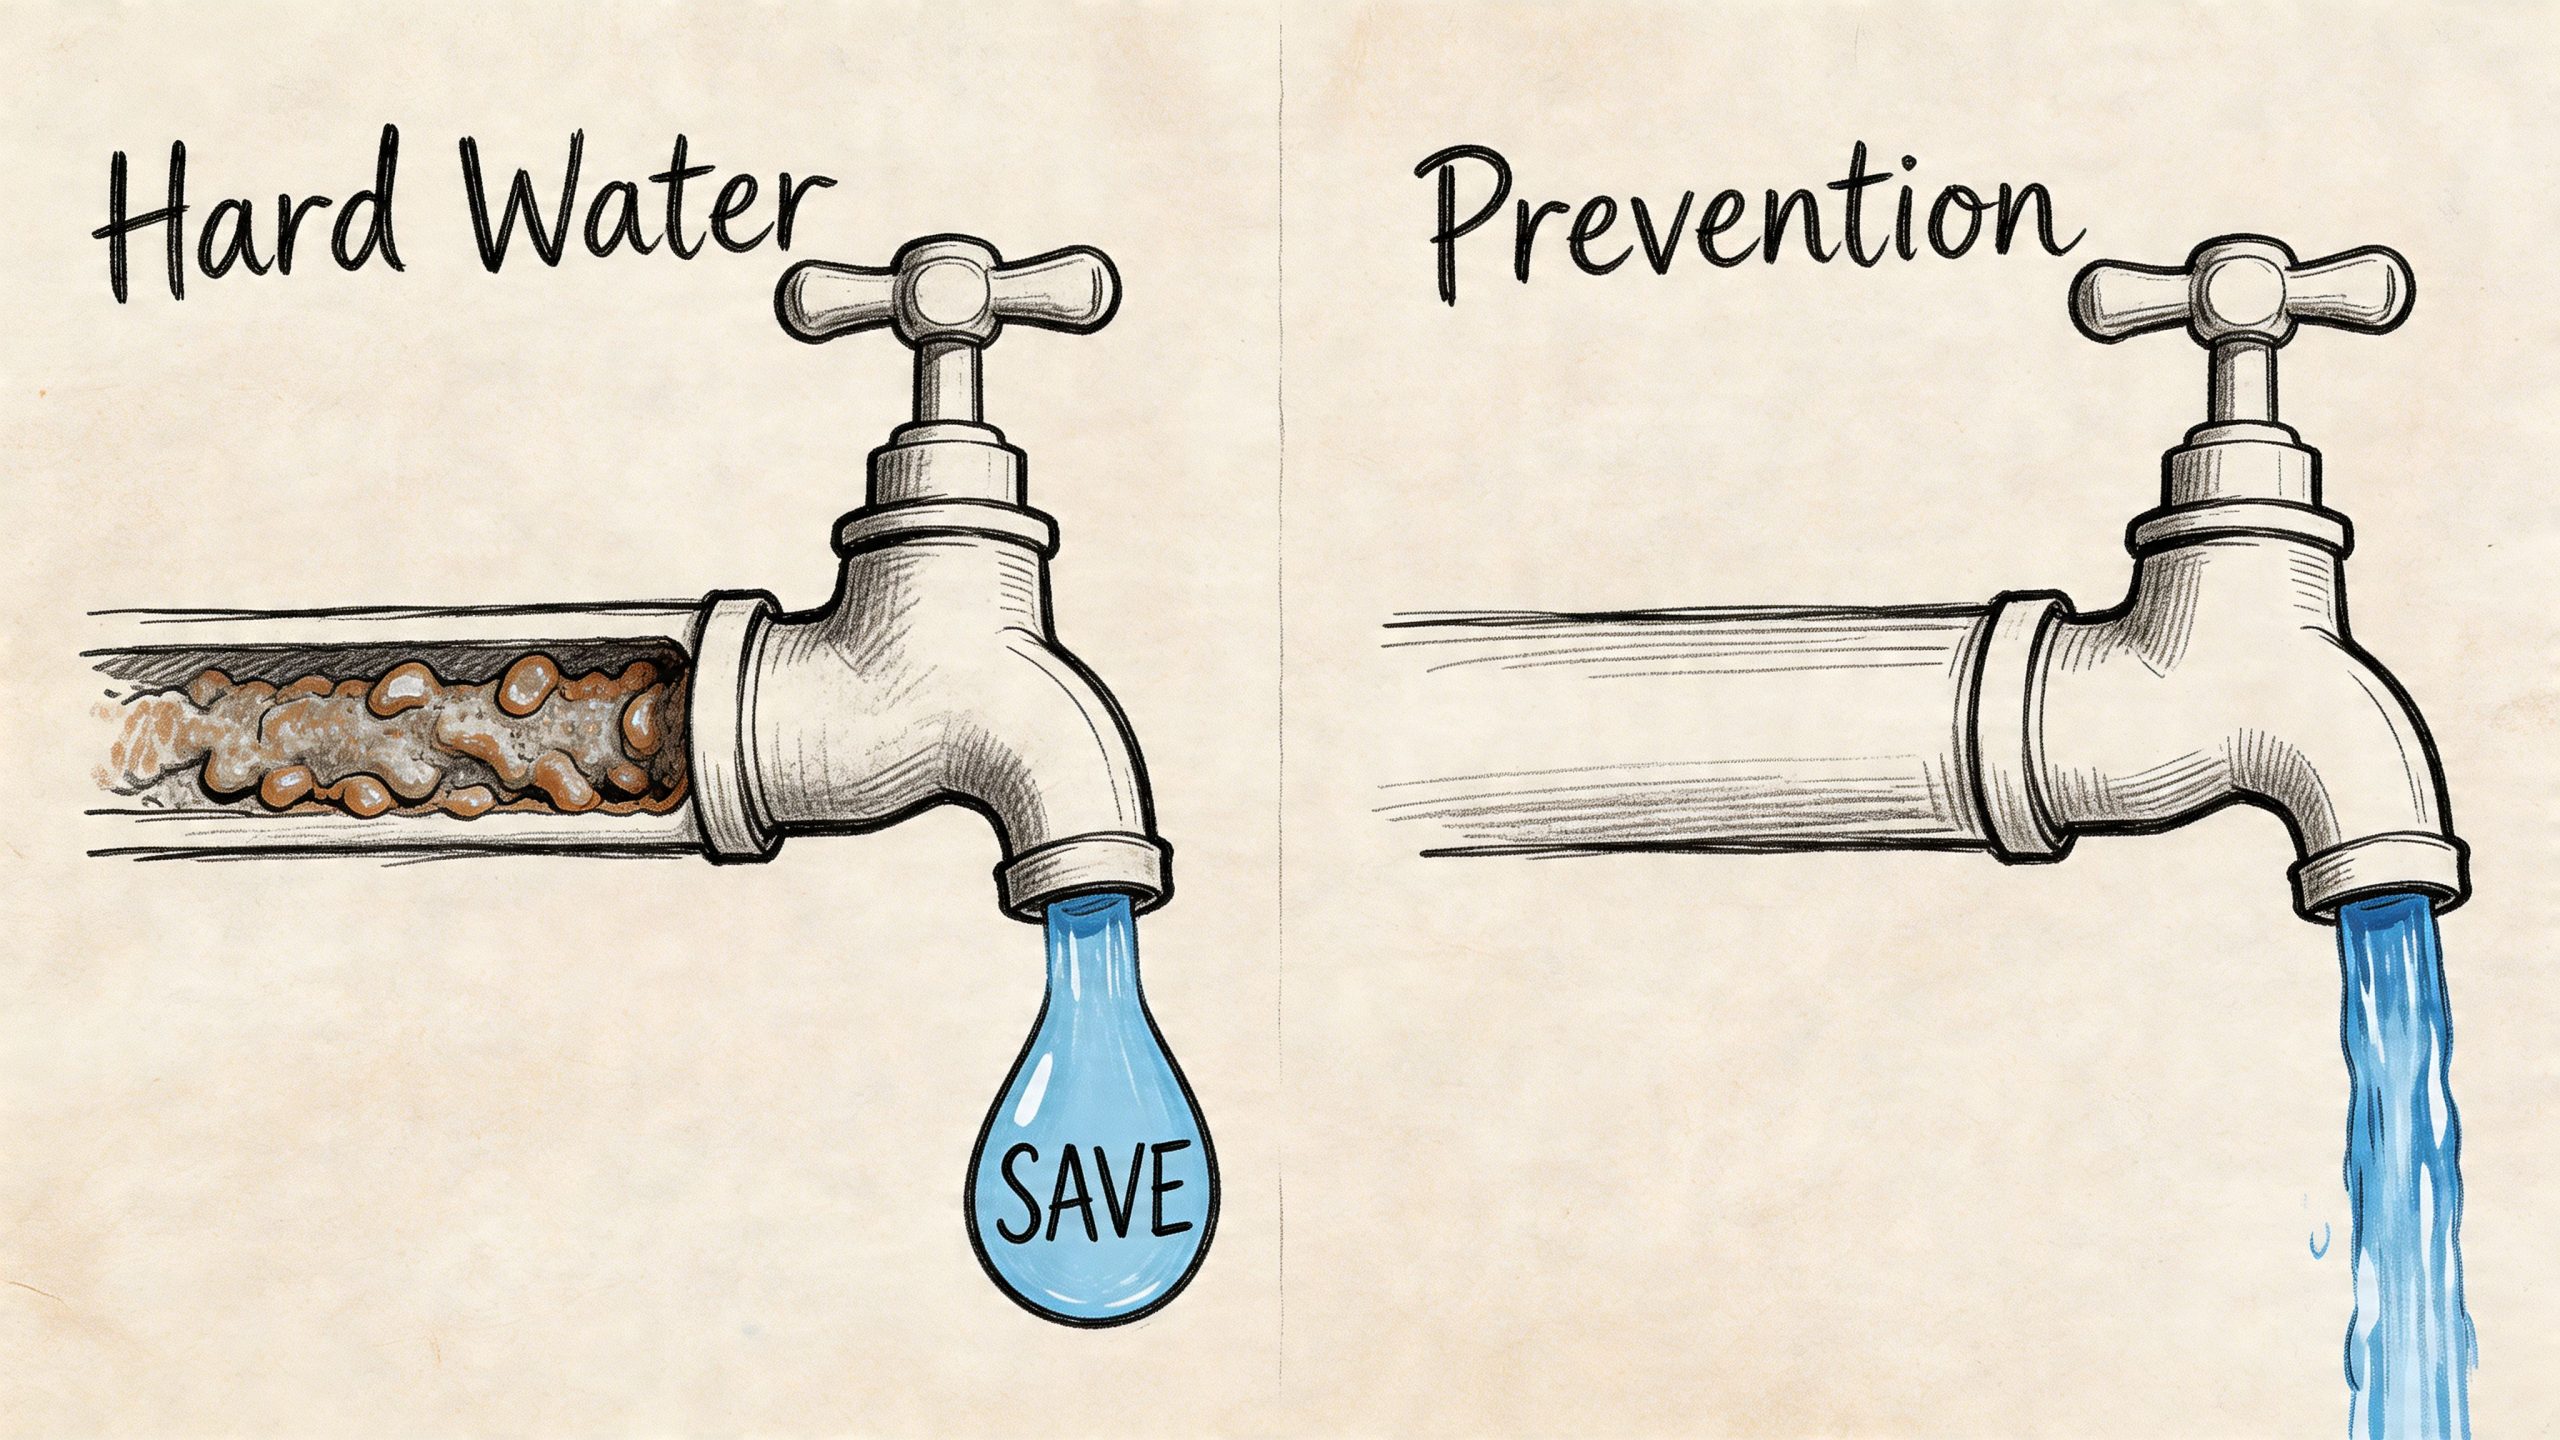
Hard water around Cherokee County, Forsyth County, and other parts of North Metro Atlanta can make faucet leaks trickier. Mineral scale can build up around cartridges, inside aerators, and on sealing surfaces. That buildup can create a drip, but it can also disguise a pressure or flow issue as a leak.
If your faucet has low flow, spits, or behaves differently on hot versus cold, don’t rush to assume the cartridge alone is bad. Check the aerator and the supply side too.
Gathering Your Tools for a Successful Repair
A smooth repair starts before you shut off the water. Most faucet jobs go wrong because the part doesn’t match, the tool slips, or the homeowner gets halfway in and realizes they’re missing one simple item.
Set everything on a towel near the sink before you begin. That keeps small screws, clips, and trim pieces from disappearing down the drain or into a dark cabinet corner.
Basic tools worth having on hand
For most faucet leaking at spout repairs, gather these first:
- Adjustable wrench: Useful for supply nuts and trim pieces when space is tight.
- Allen wrench set: Many faucet handles are held by a small set screw.
- Channel-lock pliers: Good for retaining nuts, but use them carefully to avoid marring the finish.
- Flathead screwdriver: Helpful for clips, caps, and gentle prying.
- Phillips screwdriver: Needed on many handle assemblies.
- Needle-nose pliers: Handy for clips and small internal parts.
- Clean rags or shop towels: Protect the finish and catch drips.
- Small container or zip bag: Keep screws and clips together.
- Plumber’s grease: Use silicone-based grease on O-rings and moving seals.
- Flashlight or headlamp: Under-sink work is harder than it looks in dim light.
If you’re not confident about the shutoff valves under the sink, this essential guide to the shut off valve gives a good general overview of what you’re looking at and why those valves matter before any repair.
Required parts by faucet type
| Faucet Type | Common Replacement Parts |
|---|---|
| Single-handle cartridge | Cartridge, O-rings, retaining clip |
| Two-handle compression | Washers, valve seats, stem seals |
| Swivel spout faucet | O-rings, clips, plumber’s grease |
| Pull-down or pull-out faucet | Hose assembly, quick-connect fittings, O-rings |
| Ceramic-style faucet | Cartridge or ceramic valve assembly, seals |
The part-matching habit that saves headaches
Take the old part with you if you’re buying locally. That matters most with cartridges. Small differences in stem shape, notch placement, and body length can leave you with a faucet that almost goes back together but still leaks.
A few practical habits help:
- Photograph each stage: Your phone is your memory when it’s time to reassemble.
- Keep brand info: A model number from the faucet body or manual helps narrow the replacement.
- Buy OEM when possible: It usually fits better and avoids repeat work.
- Inspect before leaving the store: Compare notches, seals, and length side by side.
One careful trip for the right part beats three rushed trips for the wrong one.
How to Fix a Leaking Spout on Any Faucet
Here, the repair either goes smoothly or turns into a cabinet-floor wrestling match. Work slowly, protect the finish, and don’t force parts that should come free with normal hand-tool pressure.
Start with a clean shutoff
Before anything else:
- Turn off the hot and cold supply valves under the sink.
- Open the faucet to relieve pressure and drain the lines.
- Plug the drain so clips and screws don’t vanish.
- Lay down a towel in the sink and another in the cabinet.
If a shutoff valve won’t turn, starts seeping, or feels like it may break, stop there. A faucet repair isn’t worth creating a larger leak.
Repairing a cartridge faucet
This is the most common repair on modern kitchen faucets. The broad process is simple, but details matter.
Remove the decorative cap if there is one. Loosen the handle set screw with the right Allen wrench. Lift off the handle, then remove the retaining nut or cap that holds the cartridge in place. Pull the cartridge straight up, or use the brand-specific method if it has a clip or twist-lock design.
For cartridge faucets, 60% of re-leak failures come from a misaligned cartridge, 25% of DIY repairs strip threads from excessive force, and OEM parts provide 95% compatibility and can double repair lifespan compared with generic kits, according to this DIY faucet repair guide.
That’s why I tell homeowners to pay attention to orientation before they remove the old cartridge. Take a picture. Look for locating tabs or notches. If the new part goes in crooked, the faucet may seem assembled correctly and still drip.
Shop note: Tight enough is not the same thing as “lean on it until it stops moving.” Over-tightening creates new problems fast.
When the old cartridge is out, inspect the cavity. Wipe away debris. If you see rough mineral crust, clean it gently. Install the new cartridge in the same orientation as the old one, reassemble the retaining hardware, and turn the water back on slowly.
Fixing a leak at the spout base
If the leak shows up around the base of a swivel spout, O-rings are the usual culprit.
Remove the spout according to the faucet design. Many use a retaining clip or sleeve. Once the spout lifts off, inspect the O-rings on the shank or copper base. If they look flattened, brittle, or cut, replace them. Lightly coat the new O-rings with silicone-based plumber’s grease before reinstalling.
Dry O-rings tear easily during reassembly. Petroleum grease is also a bad move because it can damage rubber parts. Use the right lubricant and just enough to let the spout slide back into place cleanly.
Cycle the faucet through hot and cold and rotate the spout several times after reassembly. If water still appears at the base, inspect for scoring or damage on the mating surfaces. At that point, the spout itself may be worn beyond a simple seal swap.
Working on older two-handle faucets
Older two-handle faucets often use washers and seats rather than a cartridge. If the spout drips when the handles are off, one side may not be sealing fully.
Shut off water, remove each handle, and pull the stems. Check the rubber washers at the bottom. If they’re worn, replace them with an exact match. Also inspect the valve seat inside the faucet body. A rough or damaged seat can keep even a new washer from sealing.
Often, first-time repairs stall at this point. Replacing a washer is simple. Dealing with a damaged valve seat can be less friendly, especially if corrosion has locked things in place.
Don’t misdiagnose a pull-down faucet
A pull-down kitchen faucet can fool you. Water may drip from the spout, but the problem may start lower in the hose or quick-connect assembly.
Check under the sink while someone runs the faucet above. Watch the hose as the spray head is pulled out and returned. Feel around quick-connect points carefully with a dry paper towel. If the towel gets wet, that connection may be the issue, not the spout body.
This is a good place to pause if you’re unsure. Replacing the wrong part wastes time, and repeated disassembly can damage decorative finishes or plastic retainers.
A short decision guide for DIY or backup
Use this simple line:
- Proceed with DIY if the shutoff valves work, the faucet comes apart normally, and the replacement part is an exact match.
- Pause and reassess if parts are stuck, corroded, or unclear.
- Call for help if the leak source changes under pressure, the stop valve leaks, or the faucet body appears cracked.
If you’d rather skip the trial-and-error side of it, faucet repair and replacement service is one option for getting the fixture diagnosed and repaired without guessing through the part-matching process.
Preventing Future Leaks and Water Waste
A repair is only half the job. The better win is keeping the same faucet from dripping again six months later.
In North Metro Atlanta, hard water is one of the biggest reasons faucet parts wear out early. Mineral deposits collect where seals need to sit flat. They build up around aerators, cartridges, and moving spout joints. Once that happens, even a good part has to work harder to seal.
Habits that make faucets last longer
Most homeowners don’t need a complicated maintenance plan. They need a few consistent habits.
- Clean the aerator regularly: Sediment at the tip can affect flow and make faucet behavior seem worse than it is.
- Stop forcing stiff handles: If the handle gets harder to move, don’t muscle it. That often means scale is building inside.
- Watch the base of swivel spouts: A little moisture there is an early warning that O-rings are wearing.
- Pay attention to pressure changes: If fixtures across the house feel too strong or inconsistent, address pressure issues before more parts start failing.
Mineral scale doesn’t just stain fixtures. It changes how seals sit, how handles turn, and how long replacement parts last.
Why water quality and pressure matter together
Many leak problems aren’t caused by one thing. Hard water wears the sealing surfaces, and unstable house pressure adds stress every time the faucet opens and closes.
If your home has frequent fixture leaks, noisy pipes, or strong pressure at some times of day and weak flow at others, it’s worth looking beyond the faucet itself. A properly functioning water pressure reducing valve system can help protect fixtures from unnecessary strain. In homes with noticeable scale buildup, whole-home filtration can also reduce the wear that keeps showing up in cartridges, fill valves, and appliance connections.
A smarter long-term view
Homeowners in Acworth, Cumming, and Johns Creek often focus on the visible drip because that’s the immediate annoyance. Fair enough. But the long-term fix is usually a combination of better maintenance, better water conditions, and quicker attention when small symptoms first appear.
If a faucet starts to hiss, stick, wobble, or leave mineral crust around the base, deal with it early. Small fixture issues have a habit of turning into bigger leak repair calls when they’re left alone.
When to Call a 24/7 Plumber in North Metro Atlanta
DIY makes sense up to a point. Good homeowners know where that point is.
Call a plumber if the leak continues after the repair, if the faucet body is cracked, if a shutoff valve starts leaking, or if corrosion keeps you from removing the parts safely. The same applies if you isolate the problem and realize the water is coming from the supply side instead of the faucet internals.
Signs this isn’t just a faucet problem
Some warning signs mean the issue may be larger than a simple faucet leaking at spout repair:
- Water inside the cabinet with no clear faucet-body leak
- Corroded angle stops or supply lines
- Low pressure at multiple fixtures
- Discolored water or recurring mineral blockage
- Leaks that return soon after parts are replaced
That’s especially important in older homes across Roswell, Marietta, Alpharetta, and Cobb County. What starts as a faucet call can uncover worn stop valves, failing supply connections, or larger leak repair needs. In some homes, it’s part of a broader water line issue rather than a bad cartridge alone.
If you have to force the repair, the repair is telling you something.
For after-hours leaks, active water under a sink, or a repair that got away from you, a local 24/7 emergency plumbing service is the safer move. That’s often the difference between a contained fixture problem and damage to cabinets, flooring, or walls.
If your faucet won’t stop dripping, the shutoff valve is leaking, or you’ve found a deeper problem under the sink, JMJ Plumbing can help homeowners across Woodstock, Acworth, Alpharetta, Canton, Roswell, Marietta, Cumming, and Johns Creek. Reach out when you need a licensed plumber for leak repair, emergency service, water line issues, drain cleaning, sewer concerns, or a faucet repair that needs to be done cleanly and correctly.